Managing images and other assets in the Media library
Contentful’s Media library is where we store images and downloadable assets for use on our websites. Each space (England and Scotland) has its own library.
Asset types and file formats it accepts:
Presentation – PPTX
Images – JPG, PNG, GIF, SVG, TIFF (always use JPG for photographic images and GIF for non-photographic uses like logos. Please convert all PNG files to JPG).
Audio – MP3, WAV, AAC
Rich text – Word .doc, RTF
PDF
Spreadsheet – .xls, .csv
For videos please use a YouTube link and Contentful’s video embed component .
Finding assets

You can search the Media library in the same way as the main Content section. You can:
search by file type – select a type in the left sidebar to add the Type dropdown to the search field
search by keyword – Contentful searches files names and descriptions
filter your search by a range of criteria – file size, date uploaded, who uploaded it and more
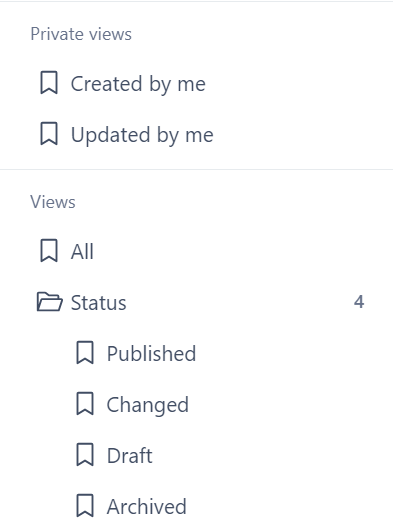
save a search view under ‘My views’ or ‘Shared views’ (left sidebar) for quick access
Uploading assets
Duplication circumvention – before you upload an asset, search to see if it’s already in the Media library.
Use the Add asset button, top right-hand corner, and select single asset or multiple
For a Single asset
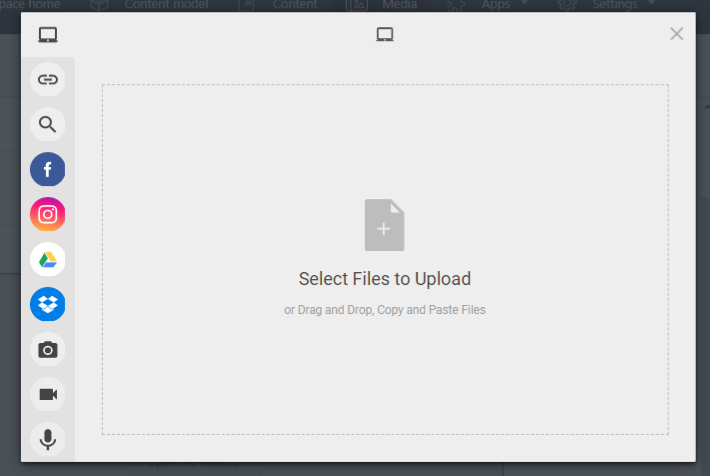
A. Drag & drop or use the file selector* to add your file
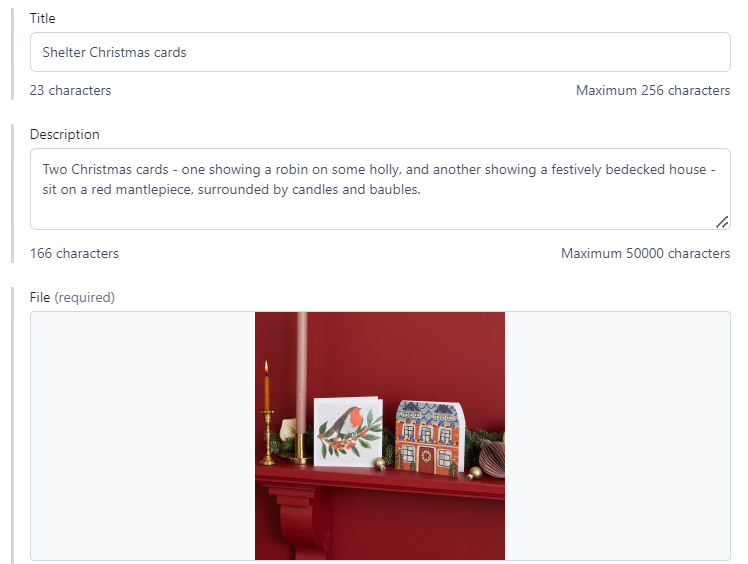
B. The file’s name will auto-generate the Title, which you can edit (see guidelines below)
C. Add the asset’s description (guidelines below)
D. Publish the asset
Important: in the file selector window you’ll see a range of source options – by URL, web search, social platforms, ‘take photo’ and more. Because external content comes with inherent risks e.g. copyright, please do not use any of these sources unless approved by the Brand team. The one exception to this rule is the Link (URL) option if goes to a Shelter image, like this one for example.
For Multiple assets
A. Drag & drop or use the file selector to add your files
(Note: In the Selected files view, if you’ve chosen images you’ll see an Edit option but it’s very limited. You’ll have better image editing options once the file is uploaded.)
B. Upload the files
C. You’ll see your assets in the Media dashboard, in DRAFT status.
Decision: be lazy or be accessible?
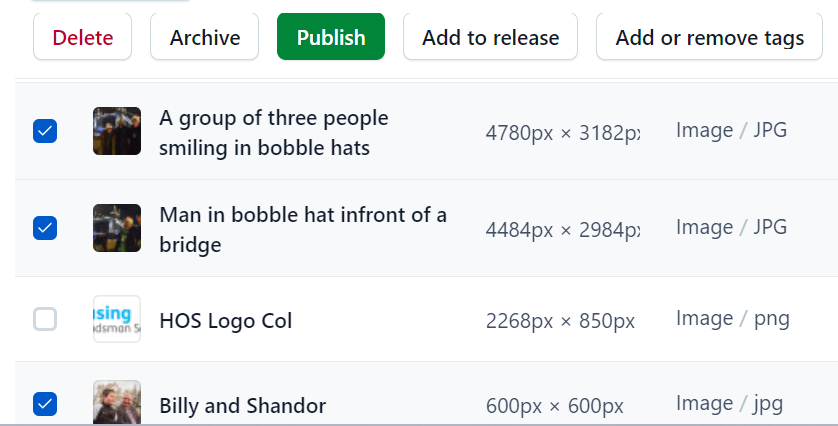
Don’t be tempted to bulk publish assets (as in the screenshot above) without adding descriptions. For images, descriptions are crucial:
They are the alt text read aloud to users with visual or cognitive disabilities. Good alt text is one of the first principles of web accessibility.
If a browser can’t load an image or a user chooses not to display images, the alt text is displayed.
Alt text gives your image meaning for search engines.
Even for non-image assets, descriptions are vital to help people and machines understand what your asset is about.
If you have questions about accessibility, contact the Central Digital UX team.
More info on alt text:
Guidelines for naming assets
We often give our digital files vague, meaningless names, making it difficult to find them again or for colleagues to get value from them.
One of Contentful’s real strengths is its search tool. It searches on all the text and completed fields within an entry, and gives you many search criteria.
That said, it all starts with a good asset name. It should clearly and accurately describe the content without being limiting. It should be meaningful by giving you a good idea of what’s in it and how or where it can be used.
Image naming
When thinking about where images can be used on the website, images generally fall into two categories, generic or specific:
Generic: if the photo shows unnamed people, locations or activities and could be used with several messages. For example, someone on a phone wearing a headset could be used to promote different helplines. A couple reading a paper form could be used with content about renting or applying for benefits.
Specific: if the photo shows a specific person, event or service, for example, a Shelter trustee or the Events team underneath a London Marathon banner.
Image description
As explained above, an image’s description becomes its alt text – critical for accessibility and other content requirements. Add a description that explains what’s in the photo in less than 50 words.

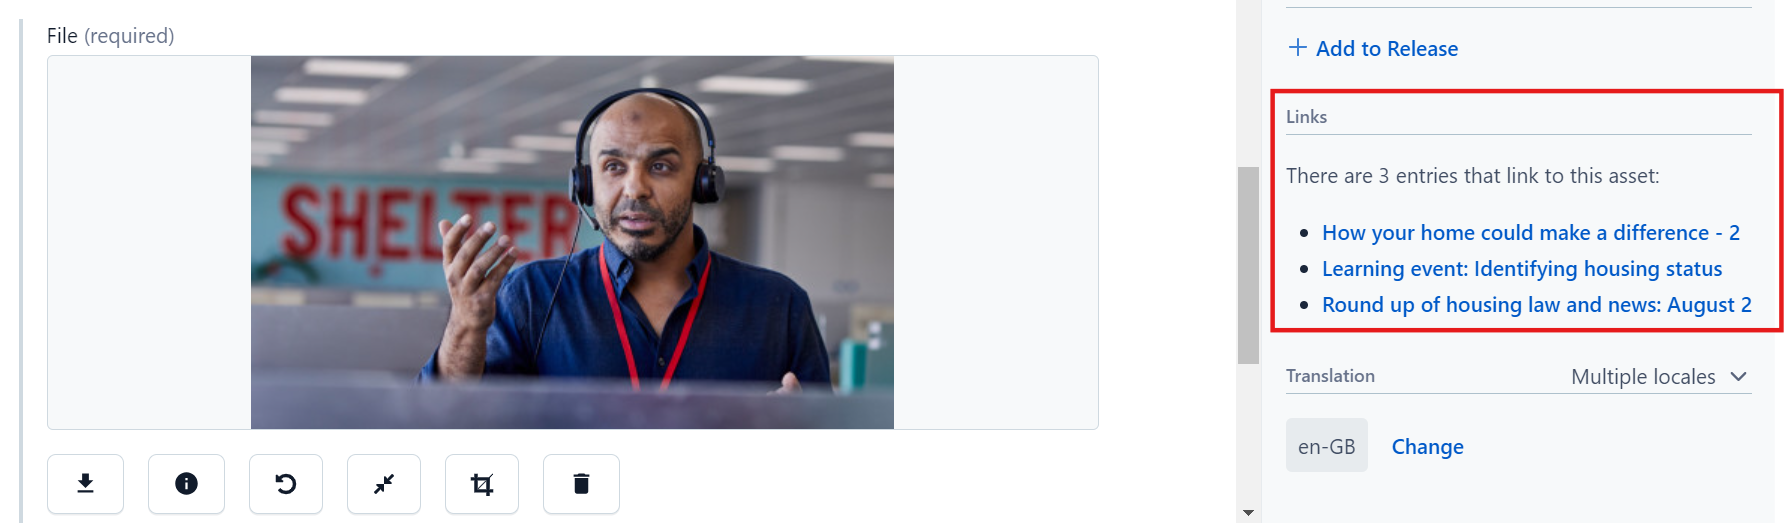
See where an image is used
To see where an image or asset is being used, use Links in the right sidebar. Click a link to go to that entry.
Note: within Links, Contentful unfortunately doesn’t show content type. You need to follow the link to find out.
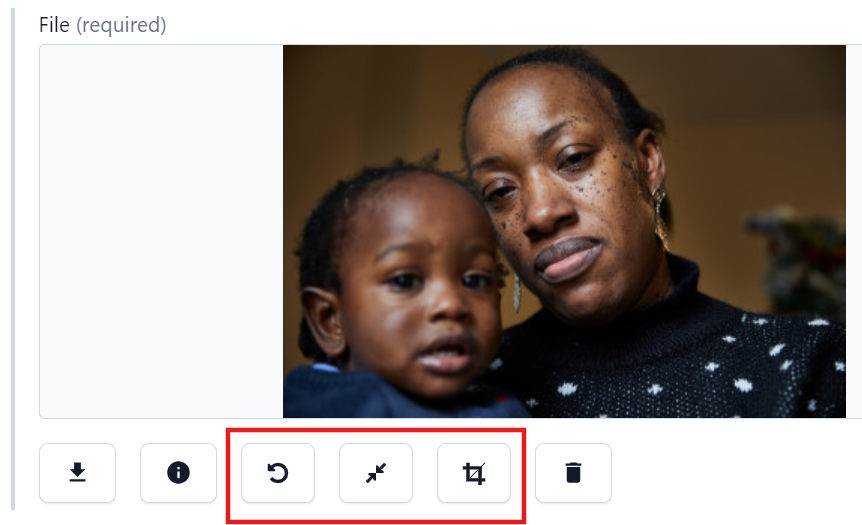
Editing images within Contentful
The media library gives you basic options to rotate, resize or crop an image. Be careful when editing existing images – any changes you make are not saved separately and will apply to every entry where that image is used.
Images on the fly
It’s best practice to upload, name and describe your images before you build the content that will use them. But that’s not always possible or practical. You could be building a two column block for a page and realise you need an image to bring it to life. Here’s what to do in this scenario:
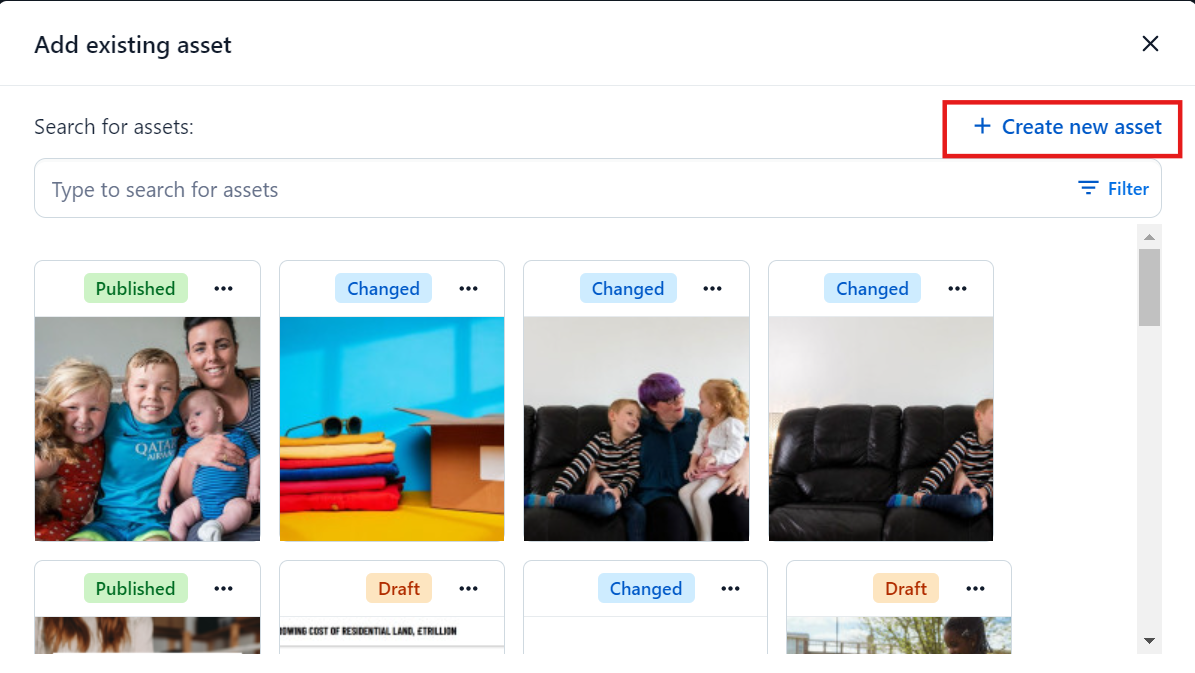
Use ‘Add existing asset’ to search the Media library first, as a suitable image may already exist. Help keep the system from being cluttered with duplication.
If you can’t find what you need, go ahead and use Create new asset to upload an image. Remember to give it a clear name and good description.
How Contentful handles images
You don’t need to resize images for use in different places on the website. Using its images API, Contentful optimises images to fit the space where they’re used.
You can upload a large image (within reason: there is a 20mb limit), name and describe it. Then when you bring it into a smaller space, such as a content card, Contentful optimises it for you. The ‘intrinsic’ (original) image file stays at the size you uploaded it.
So the guidance is to upload an image large enough to be used in the bigger sizes – hero banners, full width images, etc.
Summary points on images in Media
When you upload an image, give it a clear name and a description that provides useful information about what’s in the image. This is important for users with disabilities, for SEO and for users whose browsers don’t display images.
Always use JPG format for photographic images and GIF for non-photographic uses like logos.
Before you upload an image, search to see if it already exists.
Don't use the upload options for external channel or storage sources (Facebook, Instagram, Google Drive, Dropbox etc) unless you’ve been approved to do so by the Brand team.
Avoid the temptation to upload images in the flow of content creation. If you do, take the time to give it a good name and description.
You don’t have to optimise a large image for a small page pattern. Contentful will handle it for you. So upload an image large enough to be used in the bigger sizes such as hero banners.
Any questions? Email Lindsay Foley in the Central Digital team.