Press release template and Media contact details
Note: please use Google Chrome or Firefox as your browser.
In the main dashboard view, use the blue dropdown upper right and select Page – Press release
Enter the title - this will be the headline at the top of the web page
Set your slug - the slug is the last part of a web page’s URL including the final slash, eg: /shelter_responds_to_government_rough_sleeping_statistics
Click Set and wait a few seconds. You should see a green tick with the message ‘Slug validated!’
NOTE: Once your slug is set and your page published, do not change it. A page’s URL is the address the entire web knows it by. You can change your title but not the slug.Ignore Full path and Select your parent. These determine the full URL of your press release page, but Contentful will automatically create it for press release pages.
Choose your Date posted. (For scheduled publishing, see below)
Add your text in the Body copy field. To add a subhead to your press release, add the text into the top of the body copy field, highlight it and change it from ‘Normal’ to ‘Heading 3’ using the button in the left corner of the bar at the top of the text editor.
If you’re copy-pasting your press release in from a Word document or other source, you need to remove the hidden formatting in your copy. You have two options for doing this:
A. First use an HTML cleaner first like https://rte-editor.surge.sh - Paste your Word text into the left-hand box. Then select all the text in that box and copy it (Ctrl + C). Then paste it into the body copy field in your Contentful page. The paragraph breaks, subheads, links etc from your Word doc should be intact.
B. Copy-paste from Word directly into Contentful using Ctrl + Shift + V. This will strip any Word formatting. In Contentful it will look like it has retained the paragraph breaks, but you need to follow these steps to actually add the breaks.
-To enter all of your paragraph breaks, place your cursor before any new paragraph, hit Backspace until you’re at the end of the previous paragraph, and hit Enter.
-Once your <p> breaks are all in, use the formatting tools to format your text.
If you’re copy-pasting from a Shelter web page:
1. Paste using Ctrl + V. This should retain the text’s previous formatting. If it doesn’t, you can use the HTML cleaner linked to in the previous bullet.
8. If you want to embed an image, first make sure the image you want has been uploaded to Contentful’s Media library (see the guide to uploading images). Click Embed then click Asset. In the window that pops up, search for your image and click it to drop it in.
9. Enter your Notes to editors
A. Same as above, paste your text
B. Add your <p> breaks
C. Format the text
D. If you want to embed a table, first build your table (see the guide to building tables). Click Embed then click Entry. In the new window, find and click your table to drop it in.
10. Complete the next two required fields
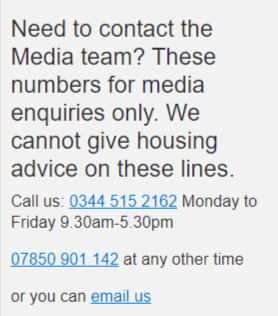
For Show contact sidebar, select Yes. If you don’t want the Media team contact details displayed on a press release, select No.
For Show thumbnail on listing page, select No
11. Page information - All web pages need metadata, so you can create this here. (For help, see our guide to this component.) Please always append your title and SEO title with ' - Shelter England' or ‘Shelter Scotland’.
eg. Shelter welcomes two new trustees to the Board - Shelter England
Your ‘Description’ in the metadata component should be the first paragraph of your press release copy. This copy will be used to create the description that appears under the title of your release on the press release listings page.
12. Preview your page – Anytime after roughly 1 minute from when you’ve Set your slug (#3 above), you can use Preview page at any point to see what your page will look like.
13. Publish your page - As you build your page, it will be in Draft state. Once you’re happy with the page, click the green Publish button. This will send your press release to the website within 5 minutes.
Once your page is published, you can click the arrow next to Change status to either unpublish or archive your page.

Scheduled publishing
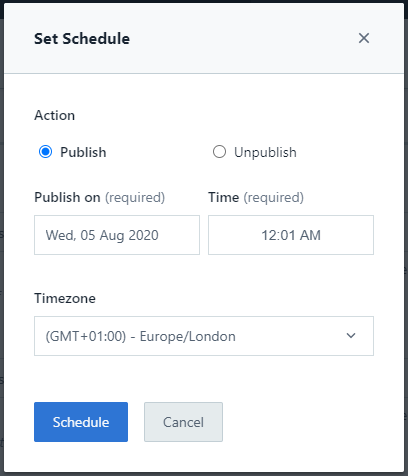
You can set your press release to publish in the future. Click the green arrow on the Publish button and select Set schedule. Then use the new window to choose a day and time. You can also use this to unpublish your PR on a specific day/time.

15. That’s it! Now you have published your page, please email the link to Editorialallusers@shelter.org.uk for a final review of the page.
Editing Media contact details
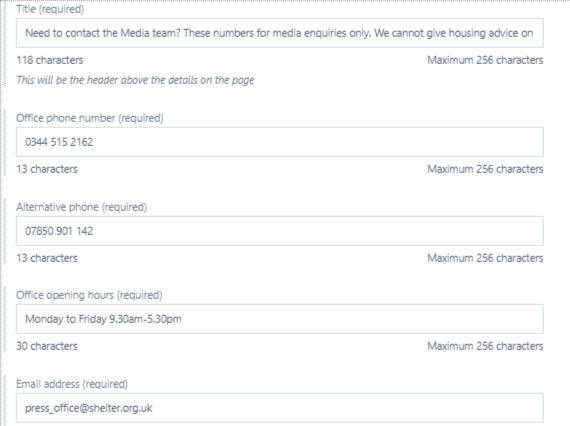
You can change the team contact details displayed on your press releases. (You can also choose not to display the details, full stop. See #10 above.)
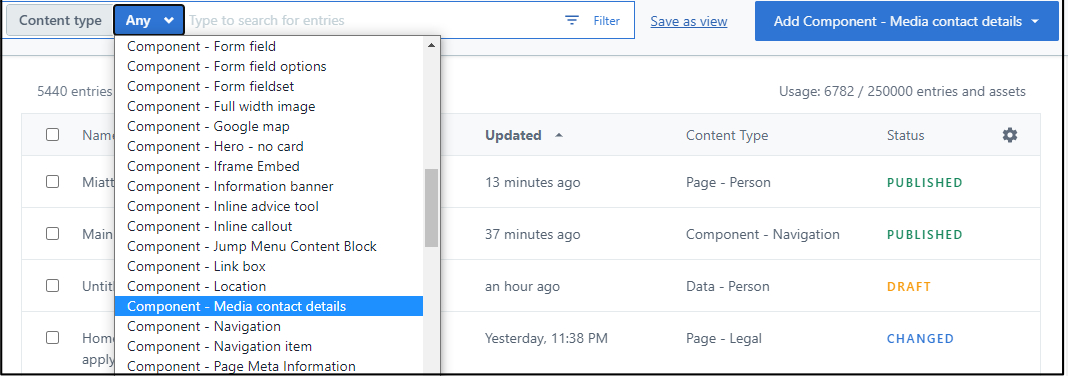
From the main Content dashboard, use the Content type dropdown to find the single entry that lets you control your contact details.

Make the edits you need
Click Publish changes
Any questions? Email Lindsay Foley in the Central Digital team.


