Person page template and Person data

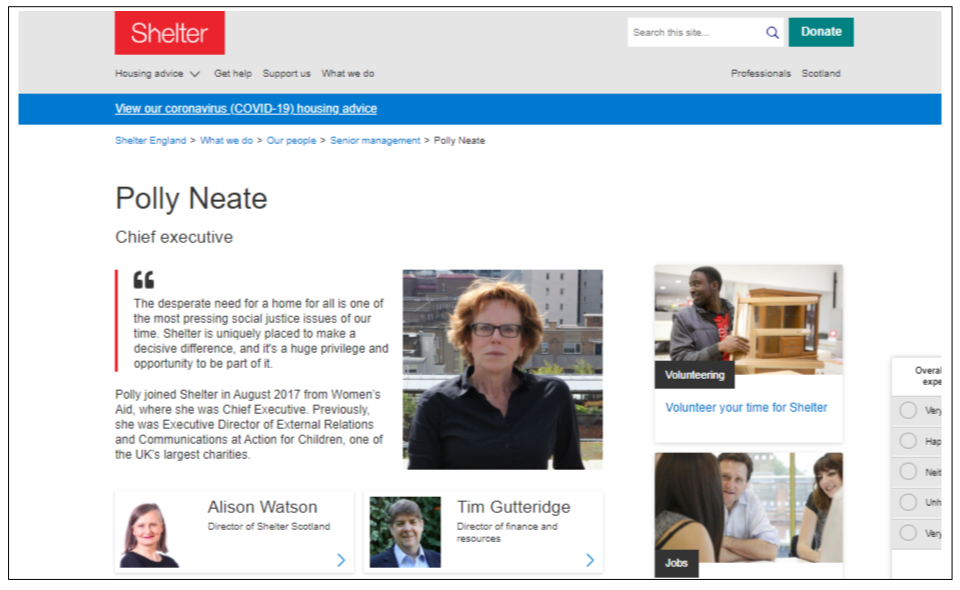
To build a web page about someone - a Shelter trustee, member of the executive leadership team, a trainer, etc - you create and publish two entries in this order:
Data - person
Page - person
Creating a Data - person
Start by using the Add entry dropdown, upper right in the main content dashboard, and select Data - person.
TIP: Quickly filter the list by typing the first three letters of what you need, eg per…Enter the person’s First name, Last name and Job title.
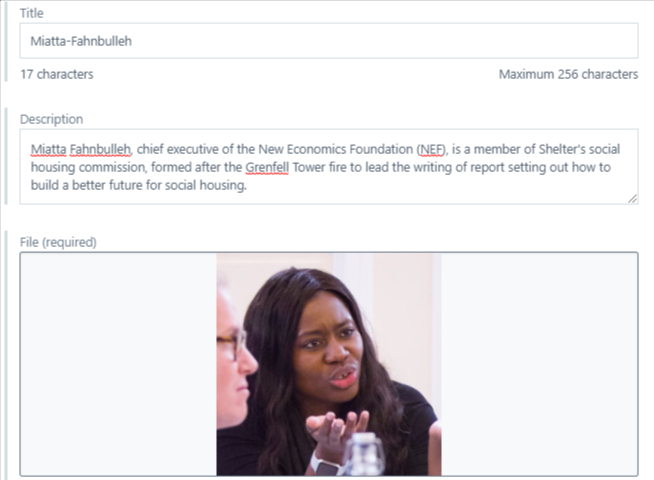
Either upload the person’s image to Contentful’s Media library by clicking Create new asset and link or, if you’ve already uploaded the image, use Link existing asset to search for and add it. See our guide to the library.
Image guidelines:
- The image area of the web page is square (300 x 300)
- Please make sure the person’s image is of decent quality. Ideally at least 600 x 600 pixels
- When you upload the image to the Media library, give it a clear description - in this instance the person’s name, job title and connection to Shelter

3. Enter the person’s Bio - a concise (ideally 150 words max) biography. NOTE July 2020: This field is a simple multi-line text field without formatting options, so you can’t break the bio into paragraphs, bold and text, etc.)
4. Category - This setting lets the CMS group person entries together. When you create a Person page for someone, other person pages that use the same category will automatically appear at the bottom of the page.
(NOTE: If you require a new category to be added to the CMS, please ask a Contentful admin.)


6. Phone number and Email address - If the use case warrants it and the person is happy for their phone number and/or email to appear, enter these.
7. Publish the data entry. It’s now ready to be used in a page entry.
Creating a Person page
Click Add entry and select Page - Person
Title - enter the person’s full name. This will generate the H1 atop the page.
Slug – This will be auto-generated when you complete the Title field. Set the slug – The CMS will take a couple of seconds to validate the slug, which is the final part of the URL.
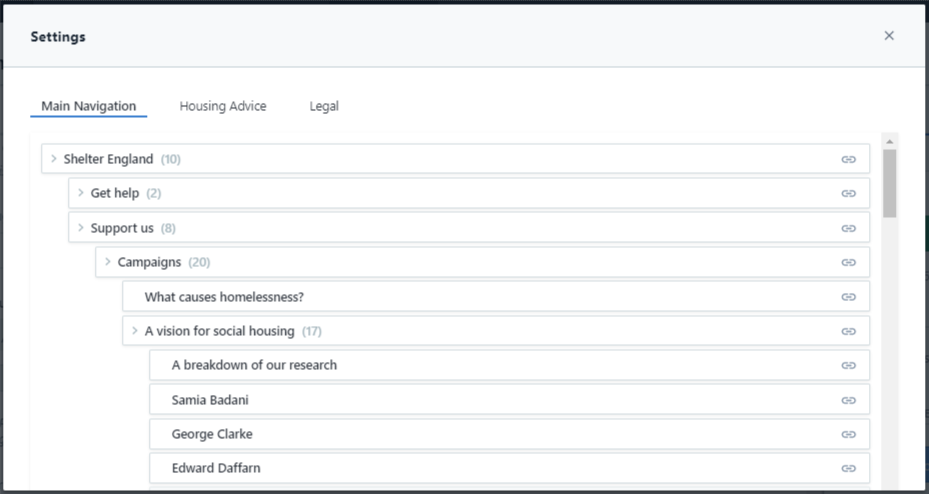
NOTE: Once your slug is set and your page published, do not change it. A page’s URL is the address the entire web knows it by. To change it invites mayhem.Select parent – Once you have a hierarchy in the Navigation component (aka ‘the tree’), you assign your page to its parent, which will update the Full path field.

Person – use Link existing entry to add the Data - Person entry you’ve created, or click Create new Data - Person and link to create the person’s data entry
Quotation – if you have a quote from the person, enter it here. It will display above their bio and next to their image

Assemblies – if you want to add any content below your body copy – a ‘Share this page’ block, a download banner, etc – you can link to it here
Page information – This is your page metadata, which drives organic search and social traffic. Read our guide to the metadata component.
Review notes – ignore this
Sidebar assemblies - you can add any of these content types to the right-hand side of your page:
Content card banner assembly
11. Preview your page to review it and when you’re ready, Publish it.
A Person Collection
There is also a content type called the Person collection assembly that lets you build a grouping of cards linking to person pages, and use that card grouping in other pages. It gives you the option to simply select a given category for the cards to display automatically, manually include people, or both. Read the guide.
Any questions? Email Lindsay Foley in the Central Digital team.
