Shop page and Shop Data
A Page – Shop is used to create pages for Shelter shops, including community shops, boutiques and furniture shops.
This type of page can include:
address
opening hours
contact details
accessibility
what can be donated
details about volunteering at the shop
Like some of our other page templates, this template works in tandem with a data entry: in this case, a Data – Shop. This contains a shop’s basic information (contact details, location, opening times). So, as part of building a Page – Shop, we need to build the data for it.
How to create the data entry
Note: when you publish the Data – Shop, the shop’s details will automatically be pulled into the shop finder, even if it is not yet associated with a Page – Shop. So if you're working on a new shop, do not publish the data entry until the page is also ready to be published.
Use Add entry to select Data – Shop. Then complete the following fields:
Shop name – the system name that CMS users will see
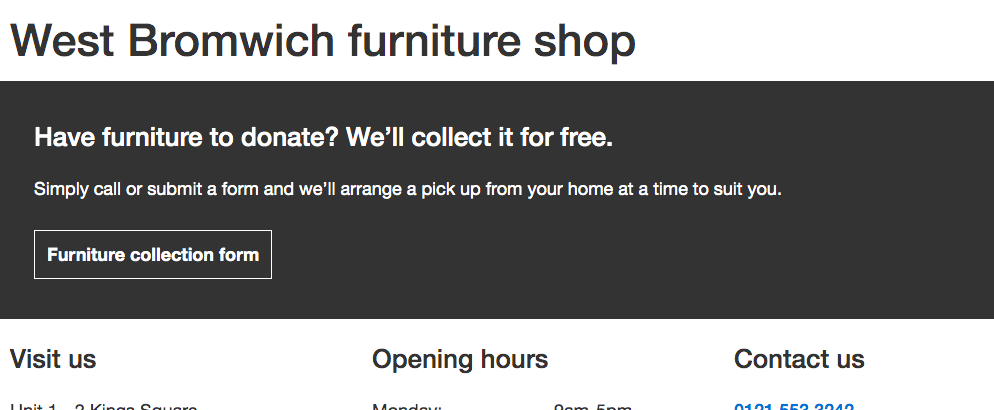
Type – select the type of shop you are building for: a community, boutique or furniture shop. If you choose furniture, this will automatically create the furniture shop styling (see Erdington furniture shop as an example)
Location – select Address and enter the address with each line separated by a comma. Include the country. This plots where the location appears on the page’s Google map.
Region – select the region in the UK in which the shop is located. This defines where the shop is listed in the shop finder.
Contact number – add the shop’s phone number
Contact email – add the shop’s email address
Short address – add the address again (the full address except for the country). This is used to list the shop address automatically in the shop finder.
Parking information – add if necessary
Disabled access information – add any details about access (e.g. wheelchair access)
Long address line 1; Long address line 2; Long address town; Long address postcode – add the address details into each of the appropriate fields. This is the address that will appear in the shop’s details in the Shop – Page.
Opening times – enter the opening and closing times for each day of the week and select ‘Closed’ for days that the shop isn’t open.
Furniture Collection phone number – enter the contact number for furniture collections if this is a furniture shop. This number will be generate a button in the page header. Leave this field blank if you only want the header to include the ‘Furniture collection form’ button:

Response Tap Class – ignore this field
Review what you’ve entered and then Publish the Data – Shop
How to create the page
Use Add entry to select Page – Shop. Then complete the following fields:
Internal title – the title that appears in Contentful
Title – this will generate the H1 header at the top of the page.
Slug – this is the final part of the URL. It’s auto-generated when you complete the Title field, but you can change it if needed. Click Set and the CMS will validate the slug, which is the final part of the URL.
NOTE: Once your slug is set and your page published and live, do not change it. This will change the URL and break links. Only the page title can be changed.Select parent – assign your page to its parent (the earlier parts of the URL). For example ‘Support us – Shops’. This will update the Full path field.
Shop – use Link existing entry to find and add the Data – Shop you’ve just created
Hero image – upload a new asset or select an existing one to feature as the hero image at the top of the page
Assemblies – add any extra assemblies needed on the page. The following types of content can be added here:
Assembly - Cards with icon
Assembly - Content Cards Banner
Assembly - CTA
Assembly - Download banner
Component - Content grid - 4
Component - Donation banner
Component - Iframe Embed
Component - Inline callout
Component - Instagram feed
Component - Link box
Component - Share block
Component - Simple rich text block
Component - Stats
Component - Two column text and image block or two column generic block
9. Furniture Collection Form – if this is a page for a furniture shop, you can add a Furniture Collection Form. Find information on creating a furniture collection form here.
10. Pre-footer assemblies – these are assemblies that will appear at the bottom of the page. This is useful for adding a content cards banner at the bottom of a furniture shop page, as the furniture collection form will appear underneath the main assembly section.
11. Page Information – create your page’s metadata component.
12. Use Preview to see your page looks and make adjustments.
13. When you’re ready, Publish your page.
Variations between community, boutique and furniture shop pages
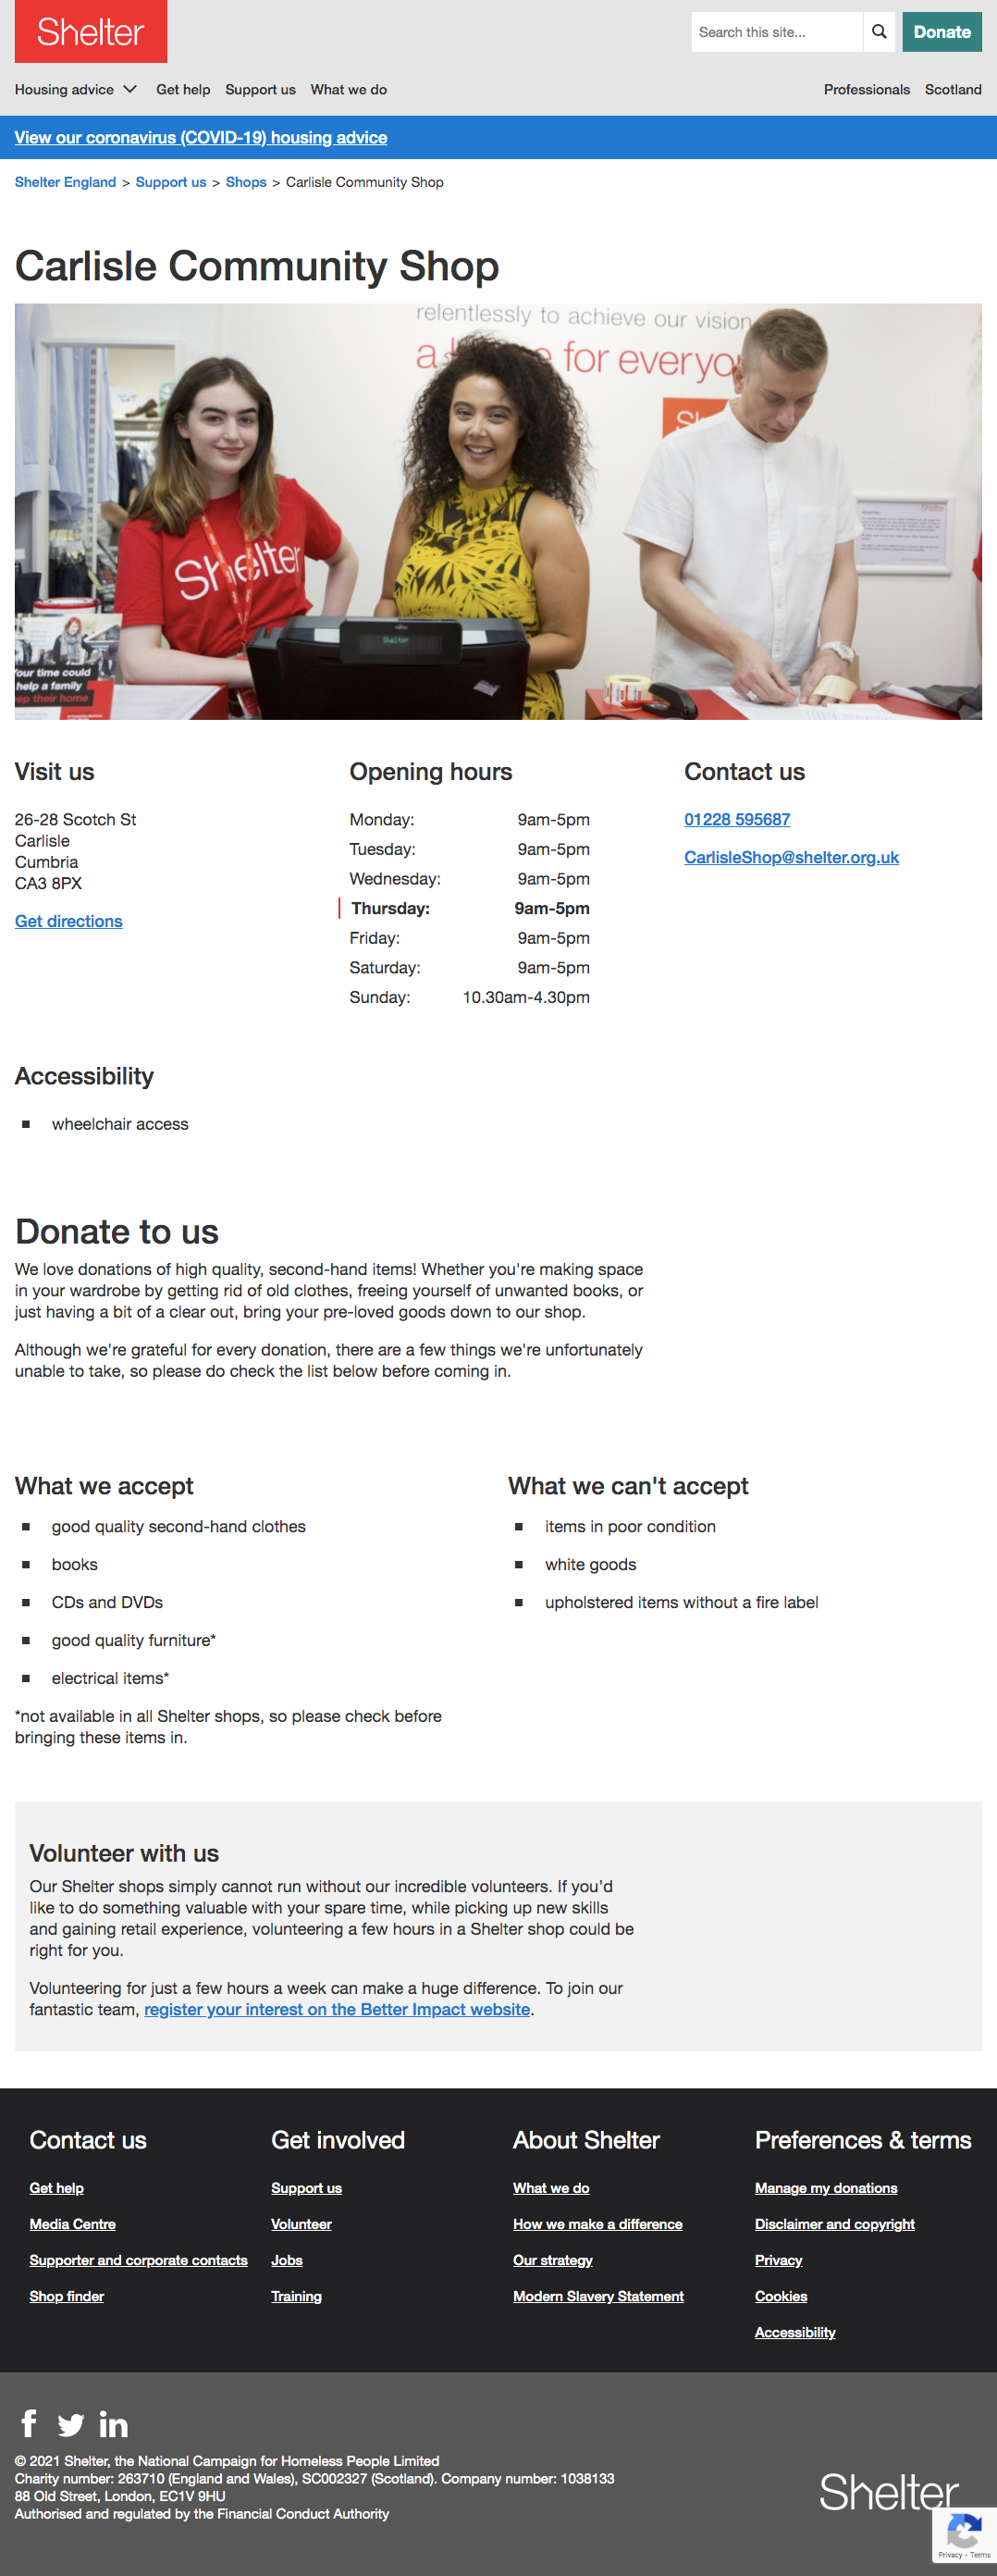
A community shop page:

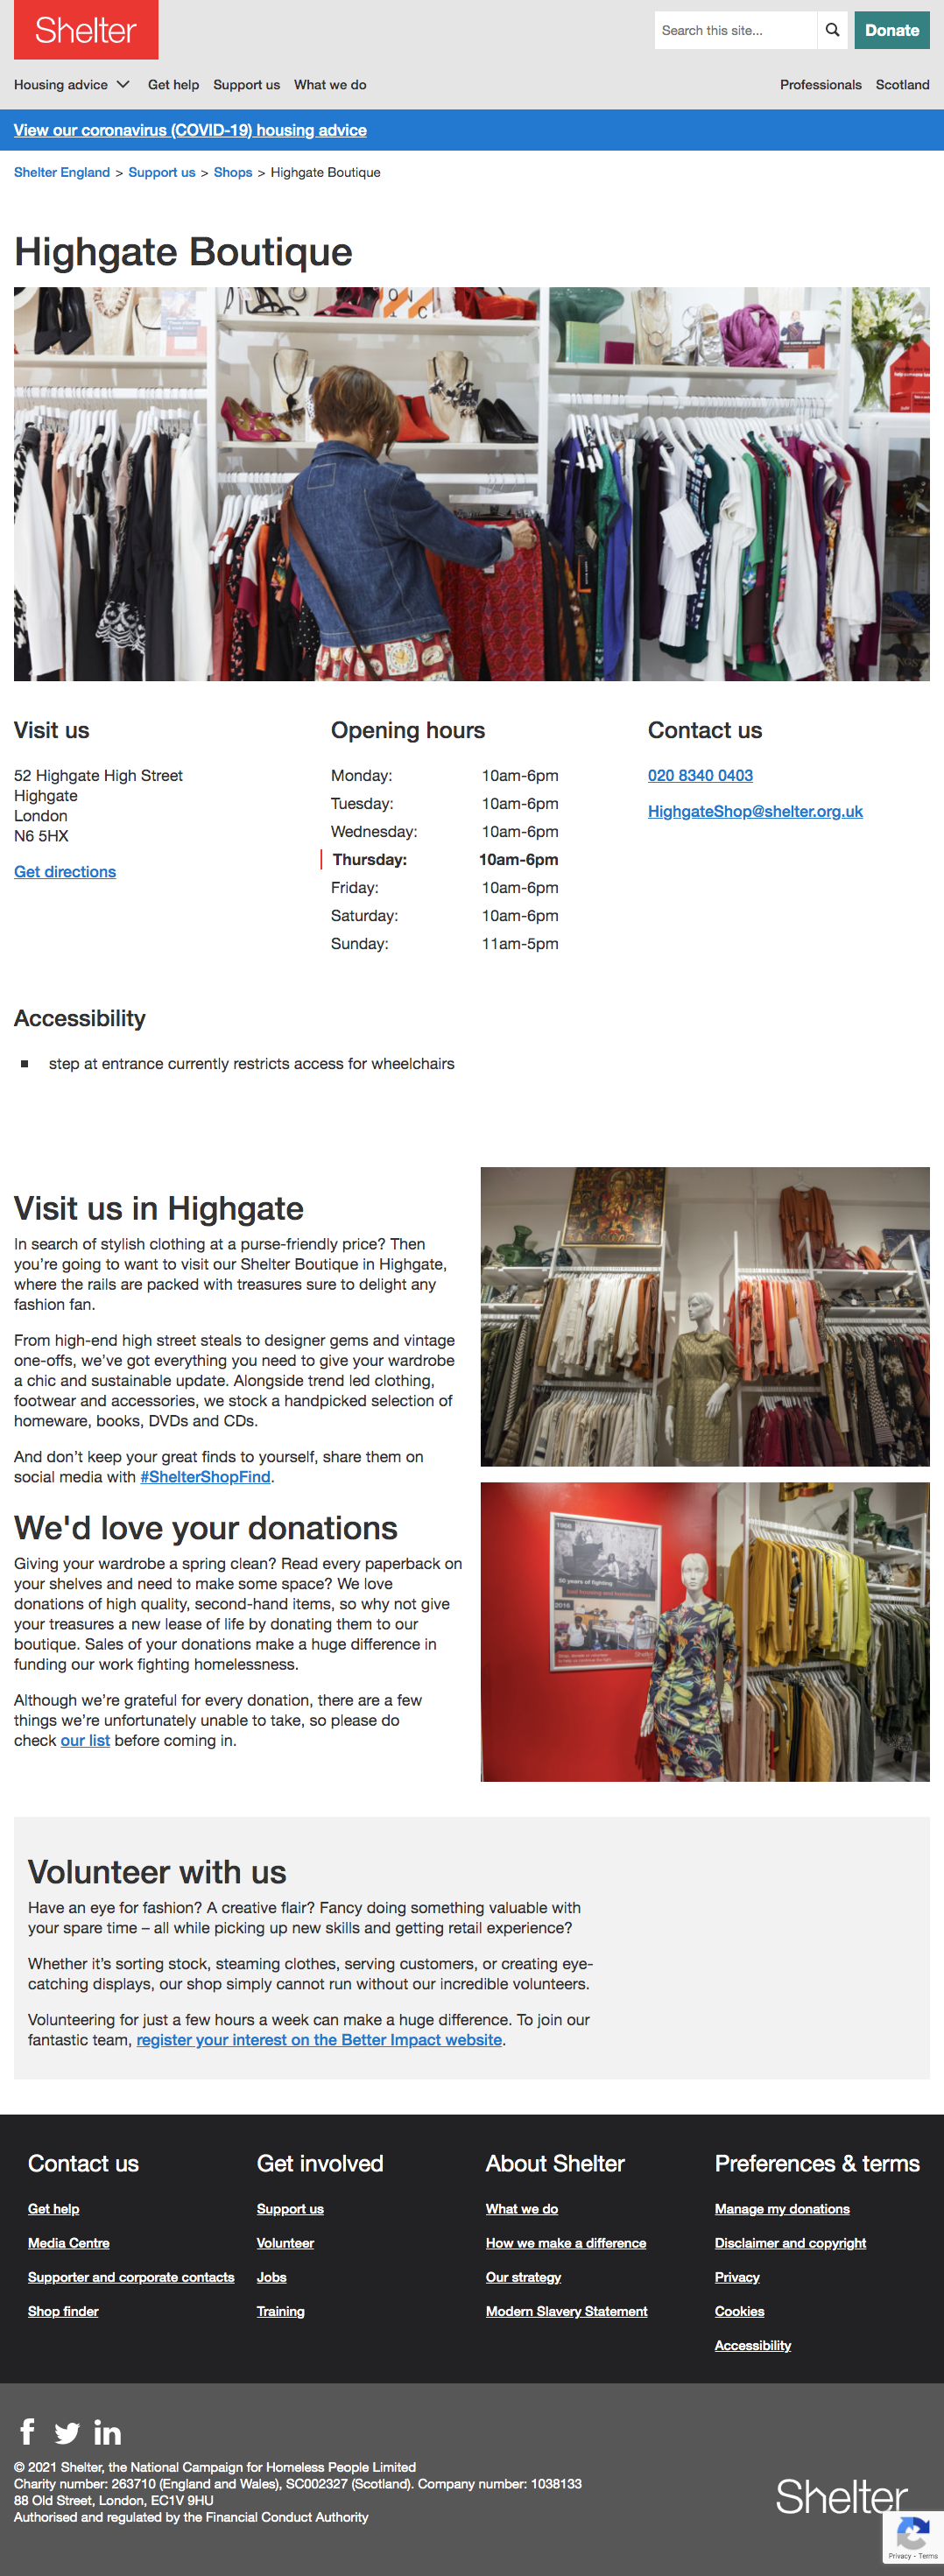
A boutique shop page:

A furniture shop page:

