
This page explains how to find, add and remove images and other assets in the CMS. For more information about our naming conventions, format, tagging system and file size restrictions, see the images, assets and Contentful page.
Finding an existing image or asset in Contentful
While you are unlikely to need to reuse an existing images within the Contentful media library, you may need to find an image or asset to remove it, or find another asset type for reuse.
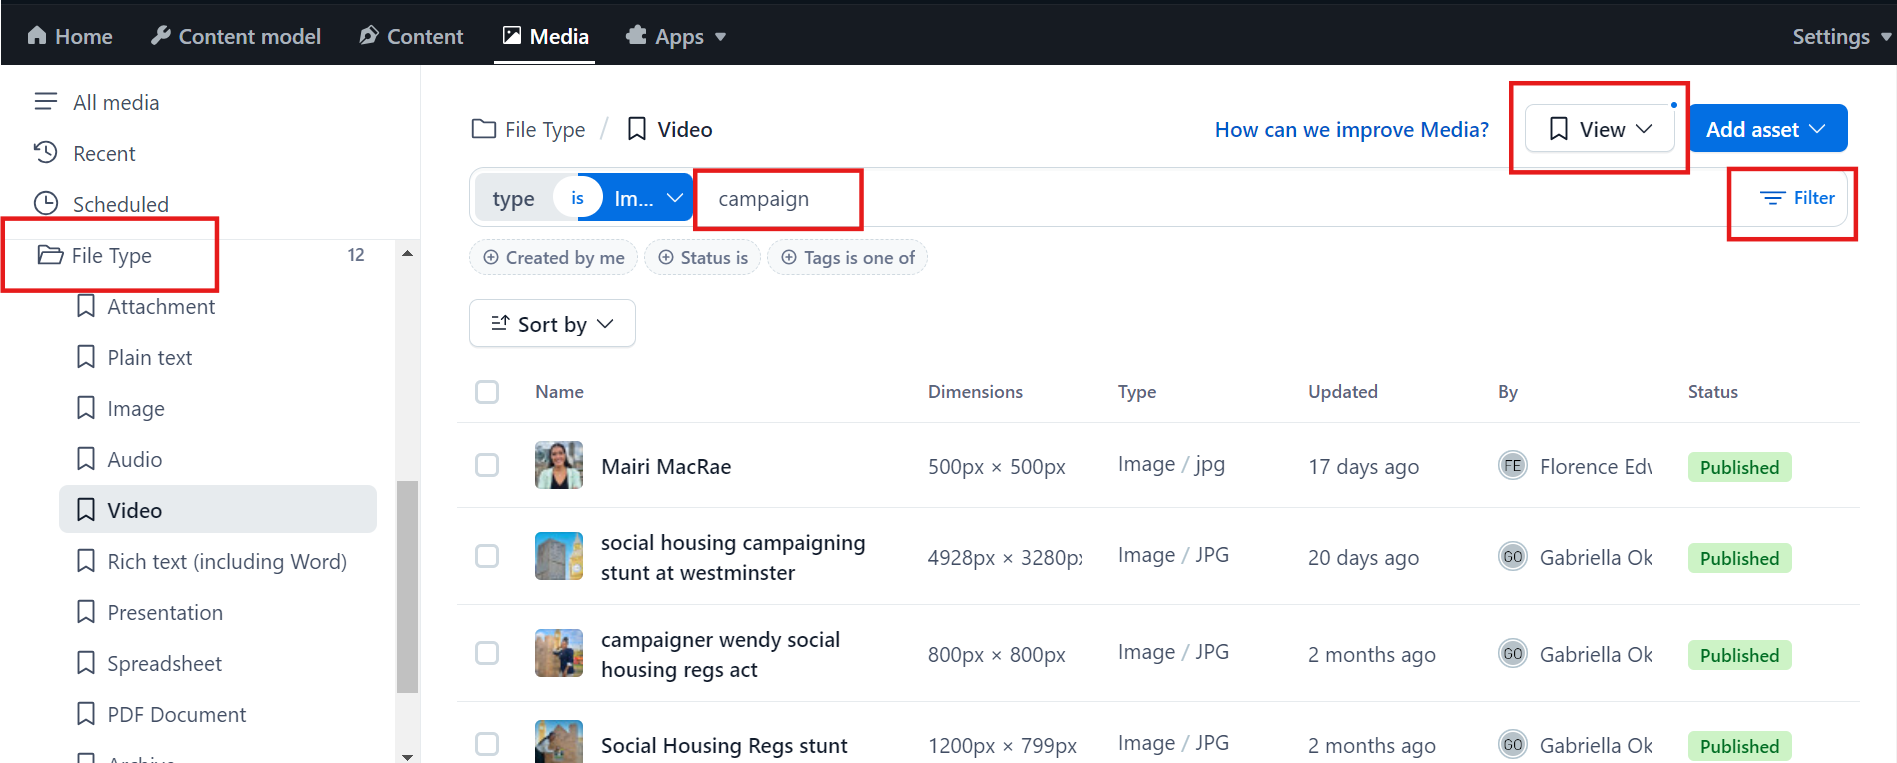
You can search the Media library in the same way as the main Content section.
You can:
-
search by file type – select a type in the left sidebar to add the Type dropdown to the search field
-
search by keyword – Contentful searches files names and descriptions
-
filter your search by a range of criteria – file size, date uploaded, who uploaded it and more
-
save a search view under ‘My views’ or ‘Shared views’ (left sidebar) for quick access
Sourcing images to use in your content
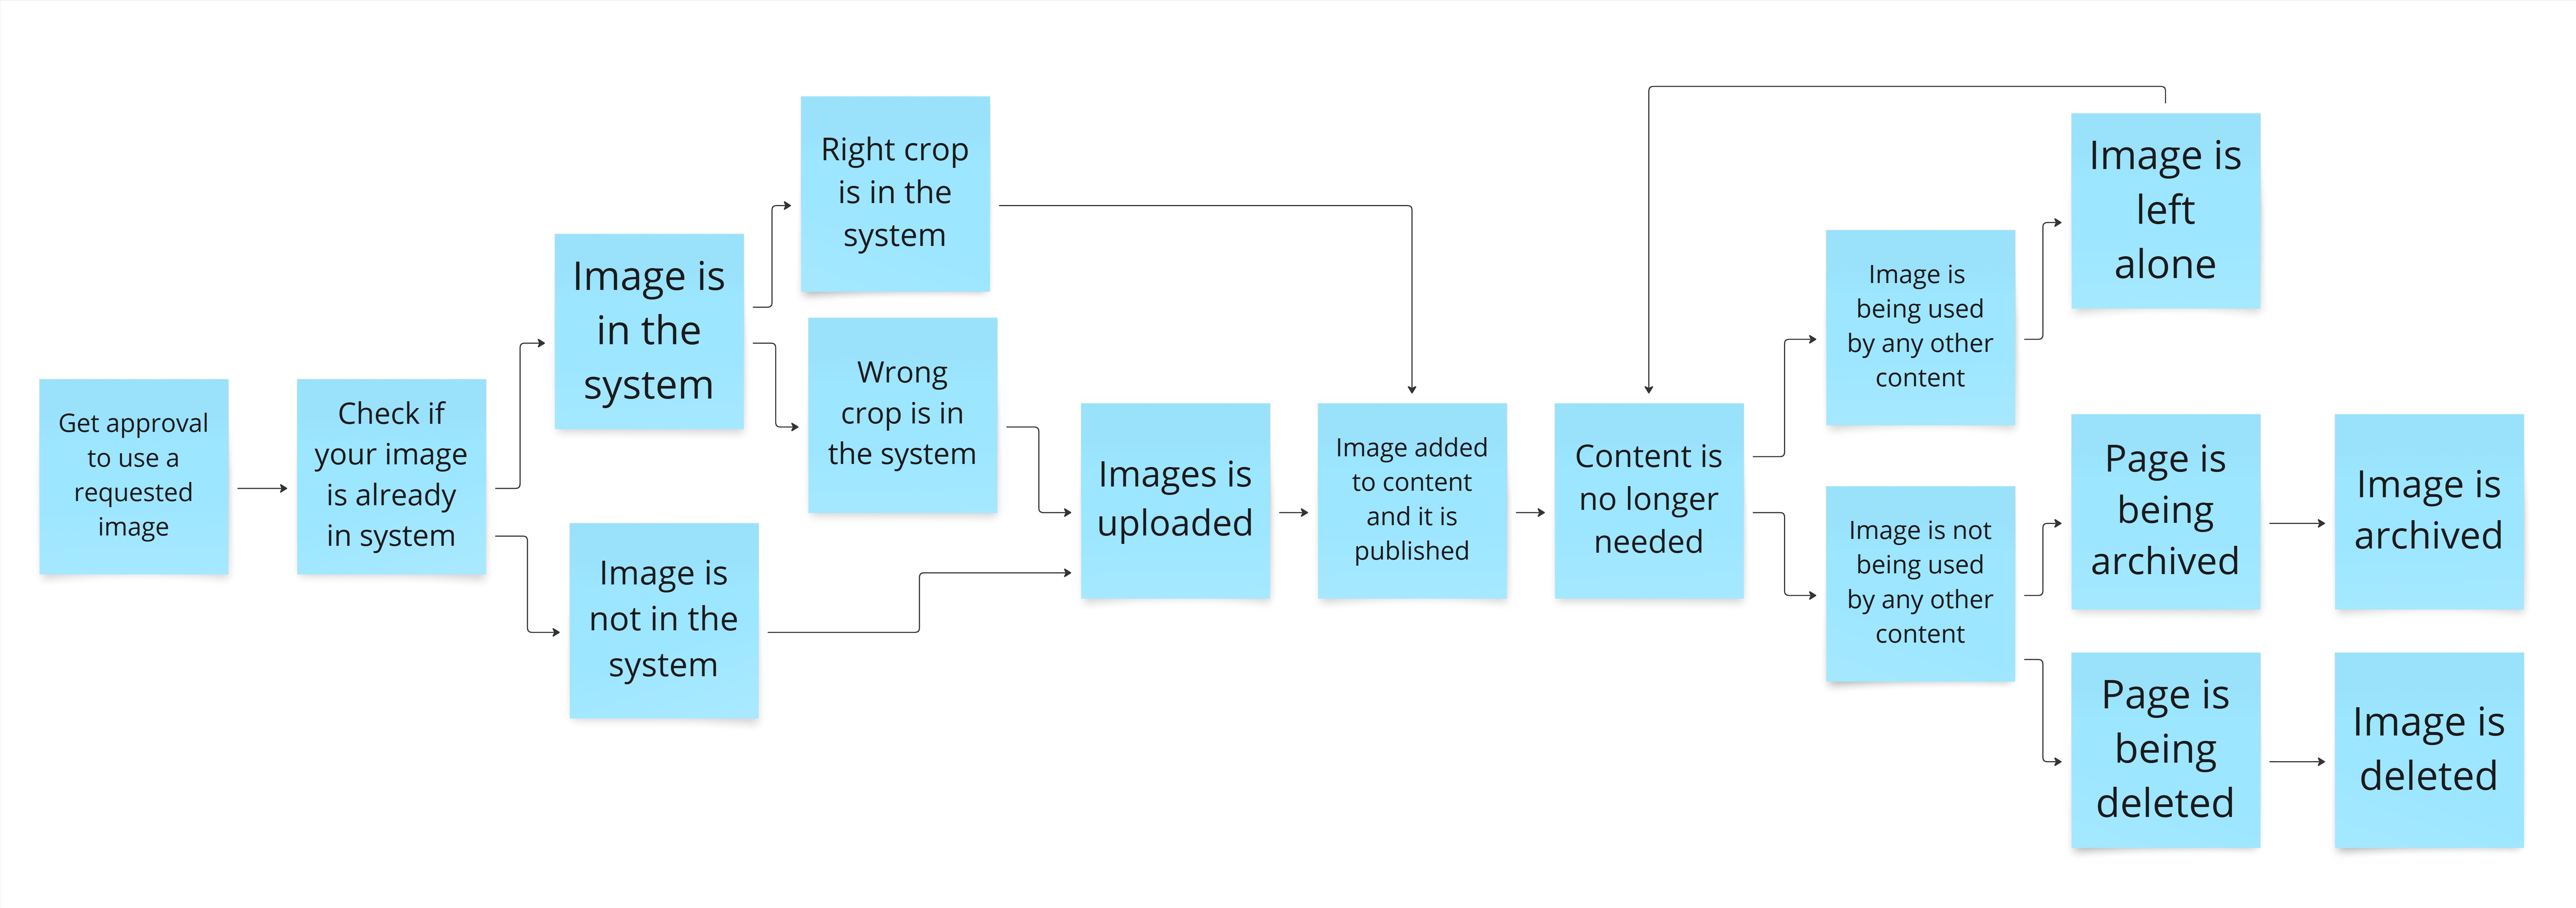
Most images we use on the website are sourced from Shelter’s image library, Story House. A lot of our imagery - and especially our case studies - will need to be approved before you can use it in your content.
With that in mind, you should not find an image in the Contentful media library and add it to your content without checking whether it is cleared for use in your particular context.
Adding and editing an image or asset in Contentful
-
Launch the media library by clicking Embed > Asset > Add existing asset to search the Media library to check if the asset or image you have been approved to use is already in the media library. This helps reduce unnecessary duplication.
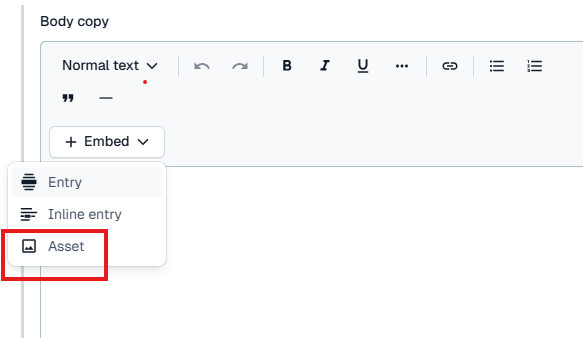
The ‘Asset’ button for adding images into content is highlighted in red
-
If you can’t find what you need, go ahead and use Create new asset to upload an image or asset.
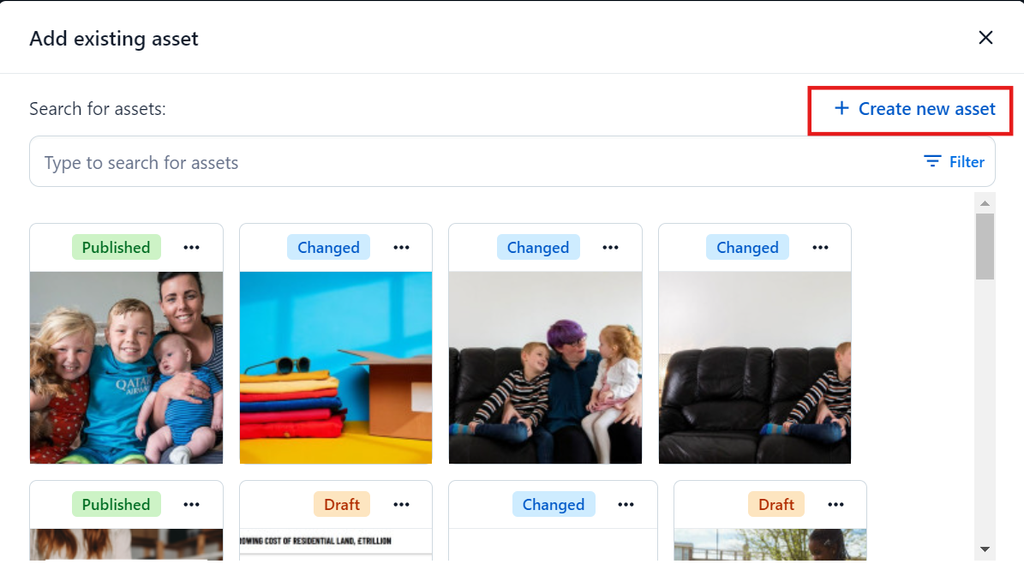
An image of the media library with the ‘Create new asset’ button highlighted in red
-
If you’re uploading a PDF, DOC or other asset type, please make sure the file name is short and logical as it will be seen when users open or download it. Having extra text like ‘version 2’ or ‘final approved version’ appended to the report or document name is not ideal for our users to see. You should also remove special characters and make sure any words in the file name are separated by spaces opposed to underscores or dashes.
GOOD: Renters Rights Bill Amendment May 2025.pdf
BAD: Renters-_Rights_Bill_-_Amendment_to_limit_rent_increases_within_tenancies_(v3-approved).pdf -
Drag and drop in your file or click open file selector and choose the image you want to upload. Make sure that your file is less than 5mb or it will cause the site to run slowly. Remember that photos should always be uploaded as a JPG - PNGs should be converted to JPG before uploading.
-
Once the image has uploaded, a preview of it will appear in the bottom field. Assets won’t have a preview, but you’ll see a file icon appear in the same place.
-
Contentful will automatically resize your image for most components, but if this image is for a Brand Hero you may want to crop it square. If it is for use in a content cards banner, you may want to crop it to 16:9. To crop it, choose the crop icon and select whichever alignment you require.
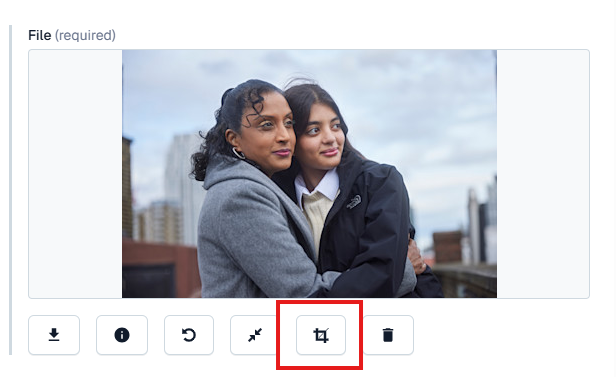
The crop icon is highlighted in red
-
Now you need to give your image a name to replace the file name that will have been populated into the Title field when you uploaded your image or asset. While assets should be named logically, for all images, you must follow the image naming structure below:
Subject (who or what) + description + [location (where applicable)] + year photo was taken or image created (yyyy) + [- crop (use ‘square’ or ‘content card’ only)
e.g.-
Retail volunteers serve customers at King's Cross Boutique 2025
-
Angela and Kardi hug in garden 2024
-
Graph showing composition of houses in temporary accommodation in England 2025
-
B&Q logo 2024 - content card
You can read more about our image naming structure here and see more examples of it in use.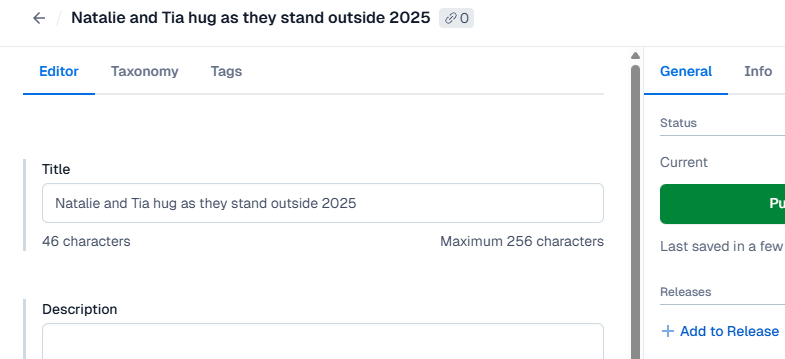
An example of an image named using the naming system
-
-
Next add a short description. It’s really important to add a couple of short sentences describing the image to this field as it improves SEO and acts as alt text for users with accessibility requirements or when the image cannot be displayed. Even for non-image assets, descriptions are vital to help people and machines understand what your asset is about. Read more about writing good alt text.
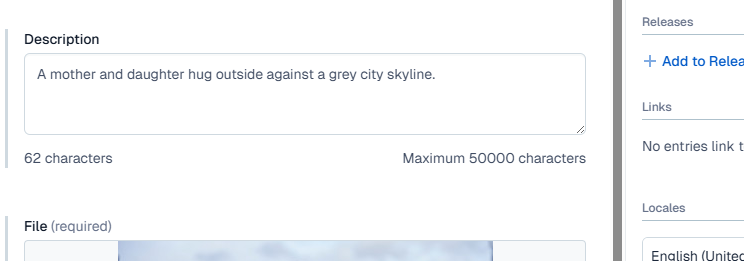
An example of some alt text in the description field
-
If you are working on an image, you should consider whether you need to add any tags. To do this, choose the Tags tab in your image entry.
-
Click the dropdown and scroll down to see if the tag you need already exists. You can select multiple tags if you need to.
-
We currently add tags to images only for two different purposes:
- Expiry date - if applicable, this information can be found on the image listing in Story House. If the date you need doesn’t already exist, add it using the structure Expiry date: mm/yy.
- Theme - we have a set list of thematic tags for images and you should use one from the list of existing tags in Contentful under the ‘Theme:’ prefix only. If you need to add a new theme tag, please discuss with the Content team before adding it as we are trying to limit this list from becoming too complicated. -
You will need to publish your image or asset before it can be used in live content.
Removing an image or asset
Please note that removing images and assets from the system is limited to Editors and Admins only. Content Managers cannot currently remove images and assets from Contentful and can request removal of these via their associated product team.
-
Before removing an asset of any kind, you will need to check that it isn’t being used in other content. To do this, view the Links section in the righthand sidebar.
-
If you can see links there, you should leave your image or asset live, but if it’s empty, you are good to go.
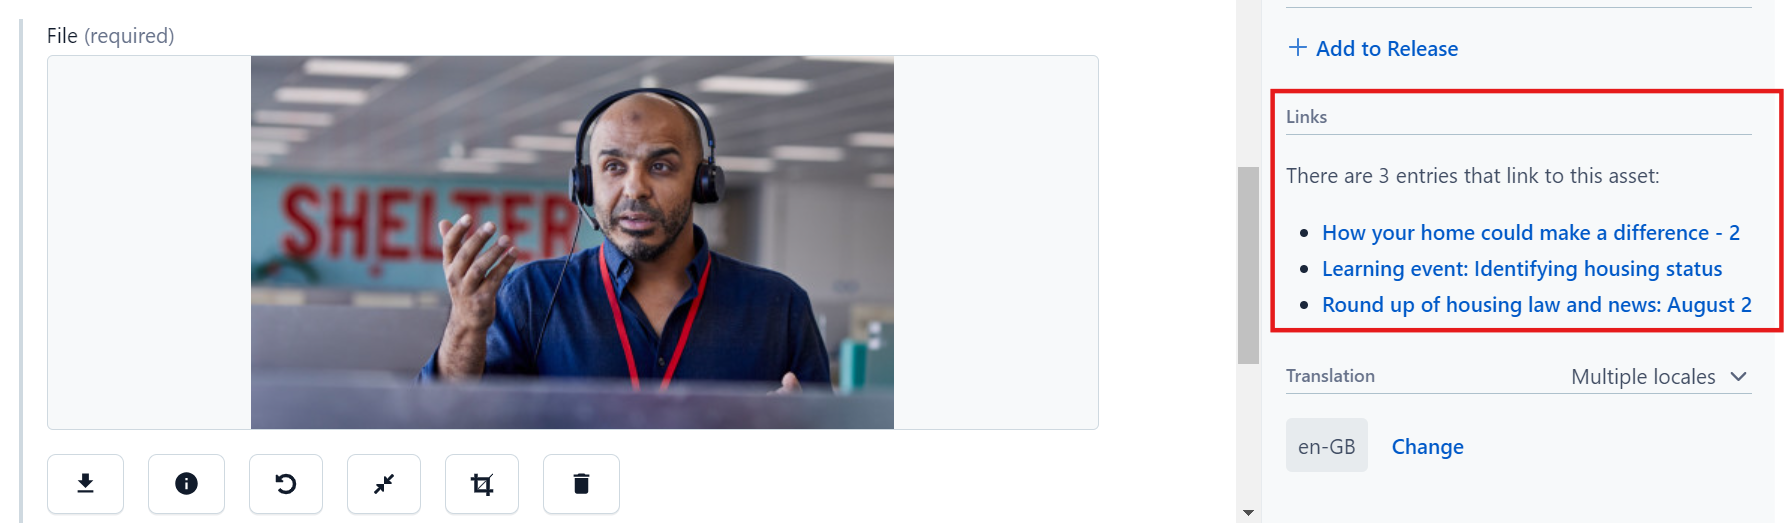
The ‘Links’ section for seeing where else your image or asset may be being used
-
First, unpublish your asset so that it returns to draft status.
-
Now click delete and confirm you are happy to remove it from the media library.
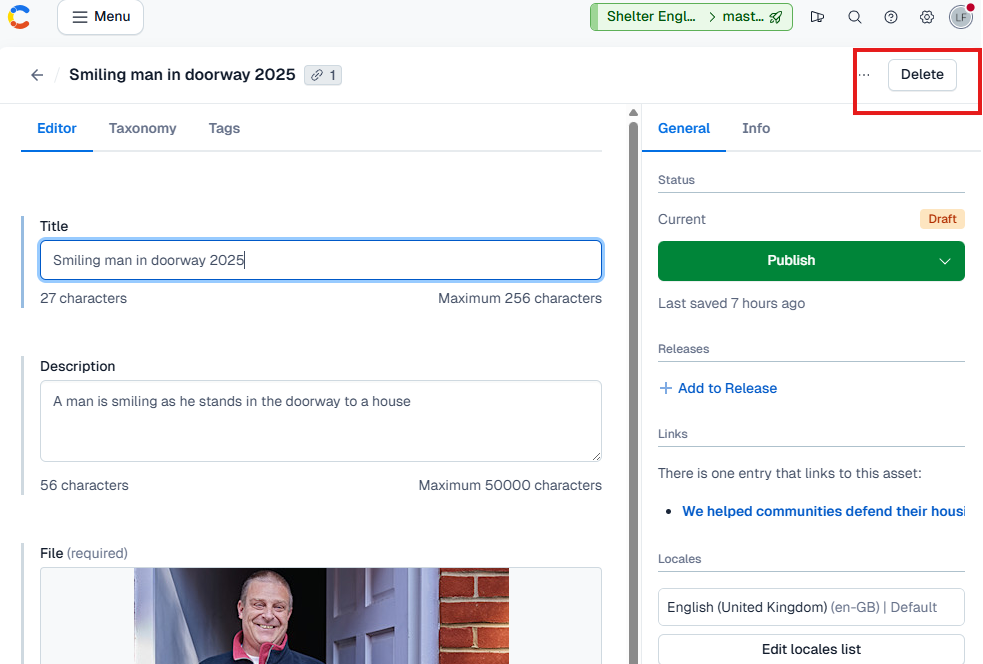
The ‘Delete’ button for permanently removing as asset is highlighted in red
-
Don’t forget that images and assets need to be added to both the England and Scotland media libraries, so will also need to be removed from both separately!
If you have any questions around adding or removing images from the media library, please contact Lindsay Foley.